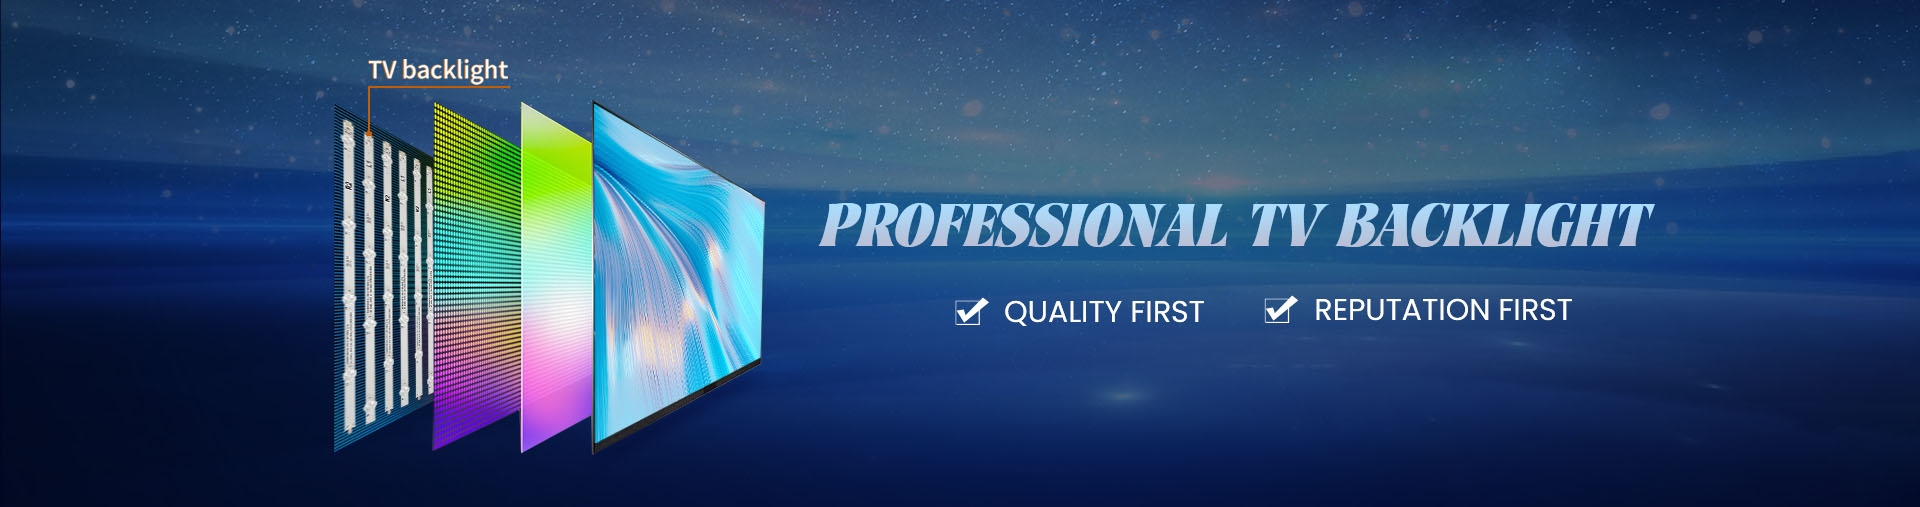
For anyone involved in television repair, refurbishment, or manufacturing, ensuring you have the correct backlight strip is fundamental. A strip that is too long will not fit the chassis, while one that is too short will create dark spots and uneven lighting, ruining the viewing experience. This guide provides a systematic, professional approach to measuring tv backlight strip length correctly the first time, ensuring perfect fit and optimal performance.
The Critical Importance of Precise Measurement
Television backlight strips are engineered to exact specifications to match the internal dimensions of a specific TV model or screen size. An error in measurement of even a few millimeters can lead to installation failure. Beyond simple fit, correct length ensures uniform light distribution across the entire screen. An undersized strip creates shadows and visible dark zones, particularly at the edges, while an oversized strip can cause physical damage to the LEDs or the TV's internal components during installation. Precise measurement is the first and most critical step in a successful backlight replacement project.
Step-by-Step Measurement Methodology
Follow this proven, four-step process to achieve accurate and reliable measurements.
Step 1: Safety First and Access Always disconnect the television from all power sources and allow it to sit for several minutes to discharge any stored electricity. Carefully remove the TV's rear panel to gain access to the internal assembly. This typically involves removing a series of screws around the perimeter. Take note of any hidden screws beneath labels or plastic covers.
Step 2: Identify and Extract the Strip Locate the faulty backlight strip. Modern TVs use either a direct-lit array (strips arranged in a grid behind the panel) or an edge-lit configuration (strips placed along the frame's perimeter). Gently disconnect the strip's power connector. Most strips are held in place with adhesive, clips, or screws. Carefully remove the strip, taking care not to damage the fragile LEDs or the diffuser sheets.
Step 3: The Measurement Process Place the removed strip on a clean, flat, and well-lit surface. Use a high-quality digital caliper for the highest accuracy. Measure the Total Length (L) from the very start of the plastic substrate to its very end, excluding any flexible connector tabs. Next, count the exact Number of LEDs (N) on the strip. Finally, measure the Pitch (P), which is the precise center-to-center distance between two adjacent LEDs. Record all three data points.
Step 4: Document Additional Specifications Length alone is not enough. Note these crucial secondary details:
Voltage/Current: This information is often printed on the strip's PCB (e.g., 24V, 120mA).
LED Chip Type: Note the size and shape (e.g., 3030, 2835).
Connector Type: Photograph the power connector for shape and pin count.
Model Codes: Record any alphanumeric codes printed on the strip.
Key Measurement Data Points
| Measurement | Description | Tool Recommended | Why It Matters |
|---|
| Total Length (L) | End-to-end length of the rigid substrate. | Digital Caliper | Ensures physical fit within the TV chassis. |
| LED Count (N) | Exact number of individual LED chips. | Visual Count | Determines brightness potential and compatibility. |
| LED Pitch (P) | Distance between LED centers. | Digital Caliper | Affects light uniformity; must match original. |
| Voltage/Current | Electrical requirements printed on PCB. | Visual Inspection | Prevents damage from incorrect power supply. |
Leveraging Model Numbers and Codes
The most reliable method to identify the correct strip is to use the existing model codes. Television and component manufacturers print specific part numbers on the strip's PCB. As a leading manufacturer with a portfolio of over 5,000 specifications, StarSharp's production system is built around these precise codes. When you provide codes like 6916L-1204A, DRT 3.0 42 A type, or SVH580A03 REV04, it allows for exact matching to the original factory specification, eliminating all guesswork from measurement. Always prioritize finding and providing these codes to your supplier.
Partnering with a Precision Manufacturer
Achieving a perfect measurement is only half the solution; sourcing a strip that matches your specifications with exacting precision is the other. This is where partnering with a specialized, vertically-integrated manufacturer makes the decisive difference.
StarSharp dedicates a decade of expertise exclusively to the engineering and production of Led Backlight Strips. With 10 fully automated production lines capable of outputting 100,000 strips daily, the focus is on scale, consistency, and precision. The manufacturing process is governed by ISO9001 quality management systems and utilizes industry-leading assembly equipment to guarantee that every strip, from the first to the ten-thousandth, meets the same exact length, LED pitch, and electrical characteristics.
This capability directly translates to reliability for your operations. A strip that is manufactured to micron-level precision will fit seamlessly, perform identically to the original, and ensure the repaired TV delivers flawless, uniform brightness. The extensive catalog of over 5,000 models, developed to service domestic TV brands and a global export market spanning over 60 countries, is a testament to a deep understanding of global market specifications and a commitment to comprehensive technical support.
Conclusion: Precision from Measurement to Installation
Correctly measuring a TV backlight strip is a technical process that demands attention to detail. By methodically following the steps to measure total length, LED count, and pitch, and by capturing all relevant model codes, you secure the foundation for a successful repair. This technical diligence, when combined with sourcing from a manufacturer whose core competency is precision engineering and mass production at scale, completes the cycle. It ensures that the high-quality component you receive not only matches your measurements on paper but performs perfectly in practice, restoring the television to its original visual quality and ensuring complete customer satisfaction.