Selecting the right replacement LED strip for your TV can make all the difference in performance, longevity, and compatibility. The following guide outlines the key aspects you should check, step by step, to ensure you identify the correct model for your television.
1. Confirm Your TV Model Number
The first step in identifying the correct LED strip is to locate and record your TV’s exact model number.
Check the label on the back of your TV or on the side — it should contain a model code.
Verify whether the model code includes region-specific suffixes.
Make note of any series number, production batch code, or revision version printed on the label.
Recording this information is critical because many LED strips are designed for specific TV models or revision versions of those models. Using the wrong strip may lead to mismatched lengths, incorrect mounting points, and even lighting irregularities.
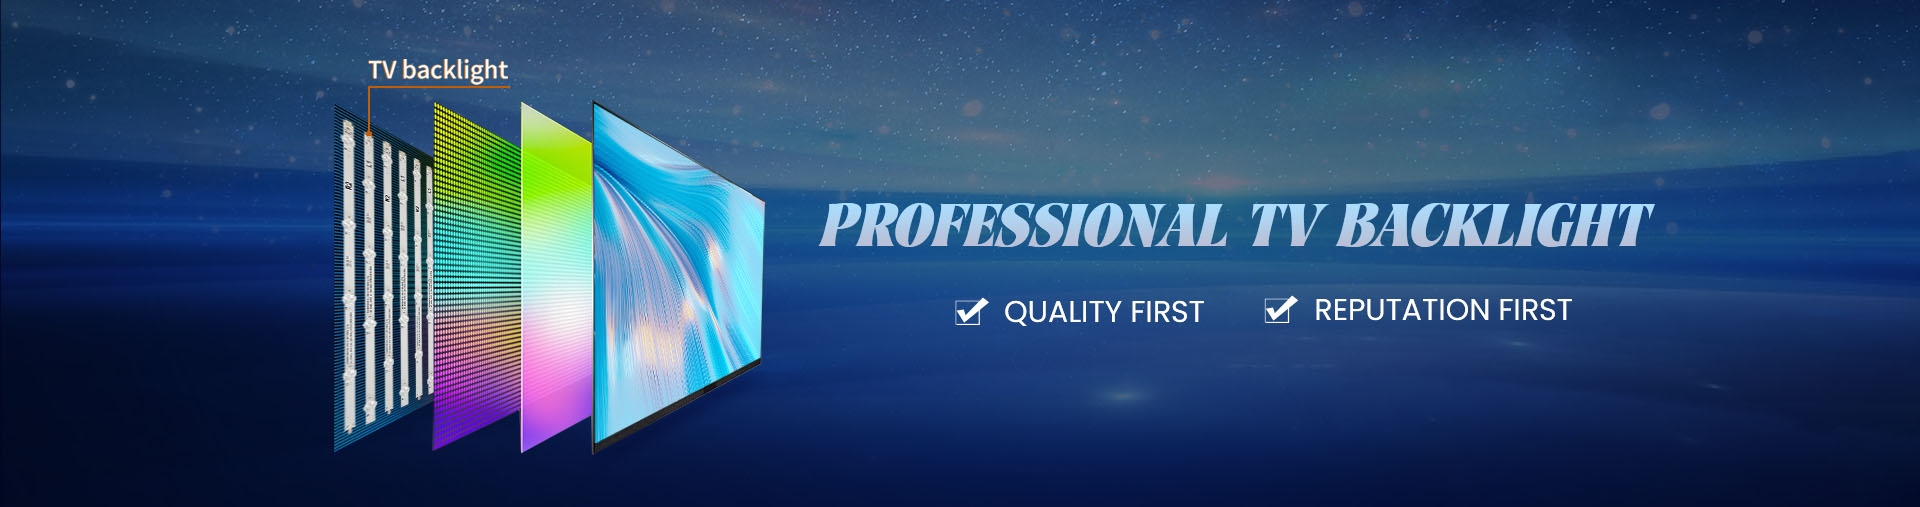
2. Understand the LED Strip Layout and Configuration
After you have the model number, the next step is to check how the LED strips inside the TV are laid out and how many LEDs or channels they have.
Key aspects to check include:
Number of LED channels or strings: Some TVs use a single LED string, others use multiple groups (for edge lighting or full-array backlighting).
Length of the strip: The physical length matters because it must fit the correct mounting points inside the TV chassis.
Connector type and position: The plug style, the wiring harness location, and orientation matter for compatibility.
Lens style: Some strips have square lenses, others have cylindrical or diffused lenses – the optics impact how the light is distributed.
Often, the service manual or a teardown guide lists the strip code. For example, if the original strip is marked with “DRT 3.0 42 A type Rev01 B” it gives clues about layout (“42” might mean a 42 inch panel) and revision. On sites of dedicated back-light strip manufacturers you will see model numbers like “ms-l1343 v1” or “6916L-1204A 32” which indicate the exact strip. For example, one manufacturer lists “led tv backlight strips 0EM43LB06 LED3030F2.1 V1.5 … for L43E5800A-UD”.
3. Extract the Original Strip Part Number
Once you understand the layout, your best bet is to locate the part number printed on the original LED strips inside your TV.
Open the back panel (if you are comfortable and safe doing so).
Look for printed markings along the LED strip (for example: “6916L-1426A”, “LM41-00144A”, “SVH580A03 5LED REV04”). (StarSharp)
Match the exact sequence including letters, numbers, revision (Rev), and date codes if present.
Make sure any lens type or LED spacing is visible and documented (for example “3030” LED size vs “3535”).
With the exact part number, you can confidently search for drop-in replacements or compatible equivalents rather than guessing by TV size alone.
4. Consider TV Size, Panel Type & Mounting Method
The size of the TV and how the LED strips are mounted are important for ensuring compatibility.
| Factor | Why it matters |
|---|
| Screen size (e.g., 55″, 65″) | Larger TVs may have longer strips or additional channels. |
| Panel type (edge-lit vs full-array) | Edge-lit uses strips along the edges; full-array uses back-mounted strips behind the panel. Wrong type leads to inadequate lighting. |
| Mounting clips and frame design | The strip length, screw holes or adhesive areas differ between models – mis-match may prevent proper installation. |
By verifying that your TV’s size and layout match the replacement strip’s specification you avoid compatibility issues.
5. Check Electrical and Optical Specifications
Even with the correct mechanical fit, electrical and optical specs must be compatible.
Voltage and current rating: The strip must support the same supply voltage as your TV back-light driver. A mismatched voltage may burn out the strip or driver.
LED spacing and brightness: The number and spacing of the LEDs affect uniformity and brightness. If too sparse, you’ll see dark bands.
Lens and diffusion type: Matching the optics ensures consistent light output and avoids hotspots or uneven brightness.
Connector pin-out: Some strips may have identical connectors but different wiring – this can reverse polarity or mis-match channels.
Manufacturers such as the one noted earlier provide specification sheets and list their revision codes to ensure that the strip version matches the original.
6. Source From a Reliable Supplier
When you have identified the correct strip model, sourcing from a reliable supplier ensures quality and after-sales support.
Work with a supplier that offers detailed model lists and revision tables.
Check for certifications such as ISO9001 and ROHS compliance – these reflect manufacturing discipline and safety standards. The manufacturer listed earlier claims to hold such certifications.
Ask about warranty, compatibility guarantee, return policy and technical support.
If possible, send the original part number and sample images to verify before purchase.
One supplier worth noting is StarSharp, which specializes in TV back-light strips. Their website shows over 5,000 product specifications, automated production lines, and export to more than 60 countries. Working with a dedicated manufacturer helps ensure you get exact fit replacements rather than generic or mismatched strips.
7. Installation Best Practices
Once you have the correct part, proper installation ensures optimal performance and safety.
Disconnect power and any cables before opening your TV.
Use anti-static precautions and handle with care to avoid damaging LEDs or drivers.
Remove the old strip carefully, note orientation, and mark any mounting holes or adhesive tabs.
Fit the new strip exactly where the old one was mounted — adhesive or clips must align.
Reconnect the driver wiring and test before fully reassembling. If lighting is uneven or flickers, check connections and polarities.
Lace cables neatly to avoid interference with panel back movement or mounting screws.
8. How to Avoid Common Mistakes
Here are some common pitfalls and how to avoid them:
Using only TV size as selection criterion: Same size TVs may use different internal part numbers. Always check the part code.
Ignoring revision numbers: Two strips may appear identical yet have different revisions (“Rev01”, “Rev02”) leading to mismatches.
Assuming all edge-lit vs full-array are interchangeable: They are not. The layout differs.
Overlooking voltage or connector differences: Even if the strip looks identical, mismatched voltage or pin-out will cause failure.
Buying from unknown generic suppliers: This risks getting inferior materials, shorter lifespan or no technical support. Reliable suppliers provide more traceability and documentation.
9. Summary
To identify the correct LED strip model for your TV, start with your TV model and revision code, then inspect the physical layout, part number and electrical characteristics of the existing strip. Cross-check these details with a reliable catalog or manufacturer. Pay attention to size, panel type, mounting method, and specifications. Source from a trusted supplier like StarSharp to ensure compatibility, quality and service. With the right strip and proper installation, your TV’s back-lighting will perform reliably and deliver uniform brightness and optimum viewing experience.