Replacing backlight components is one of the most common repair tasks in LCD televisions. When the screen turns black but sound remains active, the issue is often related to the led tv backlight system rather than the signal board or panel itself. According to the U.S. Department of Energy, high-quality LED systems can last 30,000 to 50,000 hours, but real-world usage conditions such as heat, voltage fluctuation, and material quality can shorten this lifespan. This makes proper replacement not only necessary but also critical for long-term performance. (energy.gov)
Understand the structure before disassembly
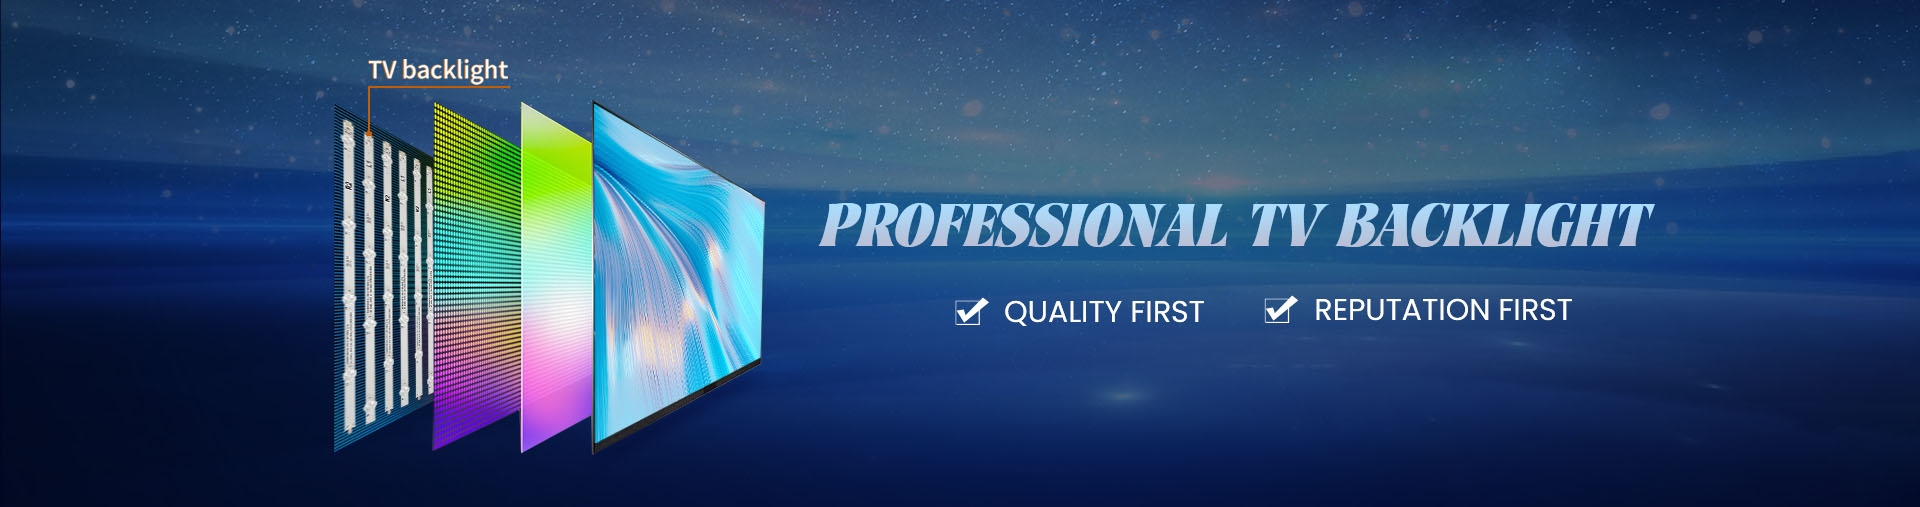
A television backlight system is not a single component. It is a structured assembly that includes LED strips, a reflector layer, diffusion sheets, and the LCD panel. Any incorrect handling during replacement can affect brightness uniformity or damage the screen permanently.
There are two main types of backlight systems:
Each structure requires a different approach during replacement, so identifying the type is the first step before opening the unit.
Step-by-step replacement process
A structured process helps reduce errors and improves repair efficiency.
1. Power off and remove external components
Disconnect the television from power and remove the back cover carefully. This step ensures safety and prevents electrical damage.
2. Access internal layers
After removing the cover, detach the mainboard shield, speaker assembly, and panel frame. Keep screws and connectors organized to avoid confusion during reassembly.
3. Separate the LCD panel
Lift the LCD panel slowly using proper support. The panel is fragile and can crack under uneven pressure. Place it on a clean, flat surface.
4. Remove diffusion layers
Below the panel, multiple optical sheets distribute light evenly. Remove them in order and keep them aligned to maintain original performance.
5. Identify and remove faulty strips
Check the LED strips visually and electrically. Burned LEDs, dark sections, or damaged connectors indicate failure. Remove the defective strips from the chassis.
6. Install matching replacement strips
Install new strips that match the original in length, voltage, LED count, and lens structure. Secure them firmly to ensure proper heat dissipation.
7. Test before full reassembly
Connect power briefly to confirm all strips light evenly. This step helps detect issues before reassembling the full unit.
8. Reassemble the television
Reinstall diffusion layers, LCD panel, and housing components in reverse order. Ensure all connectors are properly seated.
Common mistakes during replacement
Many repeat failures are caused by incorrect replacement rather than defective parts. Avoid these issues:
Using strips with different voltage ratings
Ignoring lens spacing differences
Mixing direct-lit and edge-lit designs
Skipping pre-installation testing
Handling the LCD panel without proper support
These mistakes can lead to uneven brightness, flickering, or immediate failure after installation.
Key technical factors to verify
| Factor | Why it matters | Result if incorrect |
|---|
| Voltage rating | Matches driver output | Overheating or no startup |
| LED quantity | Controls brightness distribution | Dark or over-bright zones |
| Strip length | Ensures physical fit | Installation failure |
| Lens design | Affects light diffusion | Uneven screen lighting |
| Connector type | Enables proper connection | Power mismatch |
Why supplier selection affects repair success
Replacement quality depends heavily on sourcing. A professional backlight strip manufacturer does more than supply parts. It ensures consistency in LED brightness, thermal performance, and electrical stability. These factors directly influence the lifespan of the repaired television.
StarSharp focuses on television backlight solutions with a wide range of specifications and stable production capacity. According to its official information, the company offers over 5,000 models and annual output exceeding 26 million units, supporting demand across global markets. This level of coverage allows buyers to match original configurations more accurately and reduce mismatch risks.
Final thought
Replacing Led Backlight Strips is a precise technical process rather than a simple part swap. Correct identification, careful handling, and proper matching are the keys to restoring display performance and avoiding repeat repairs. A structured replacement approach combined with reliable manufacturing support helps ensure stable results and longer service life after repair.