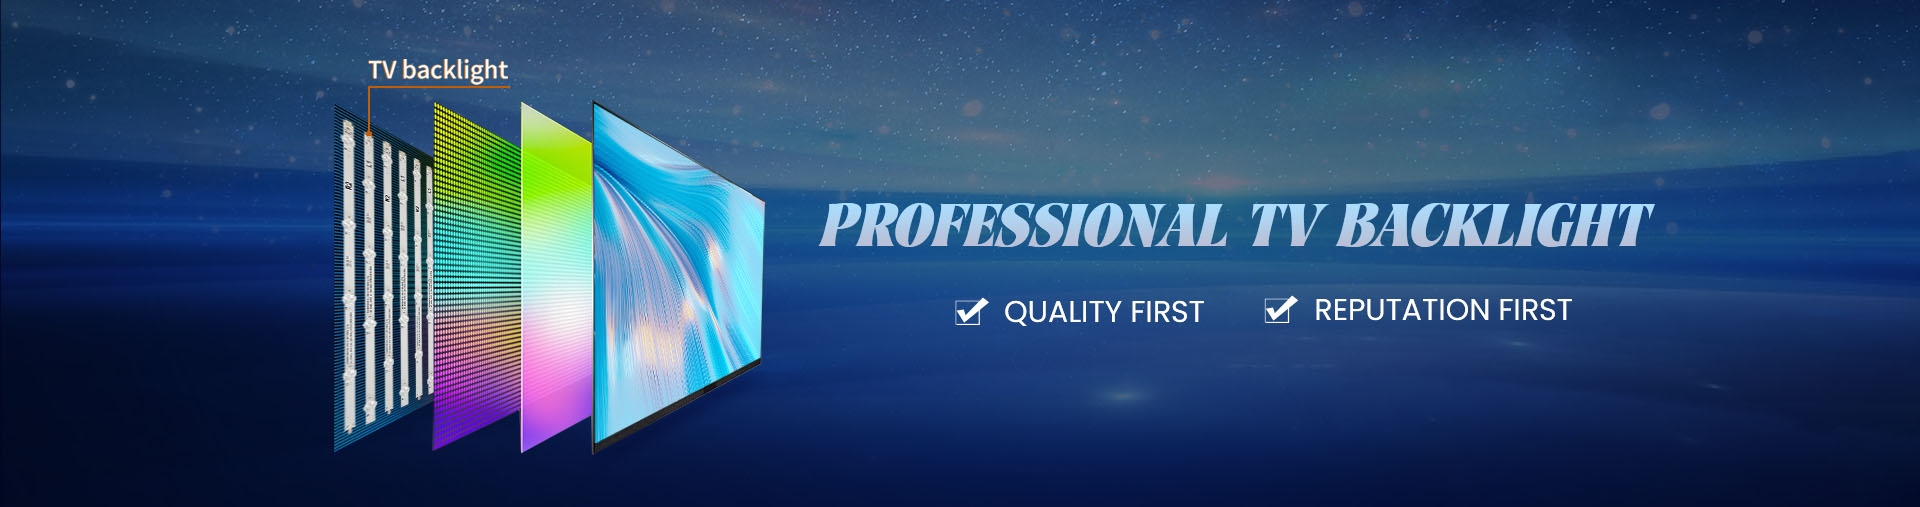
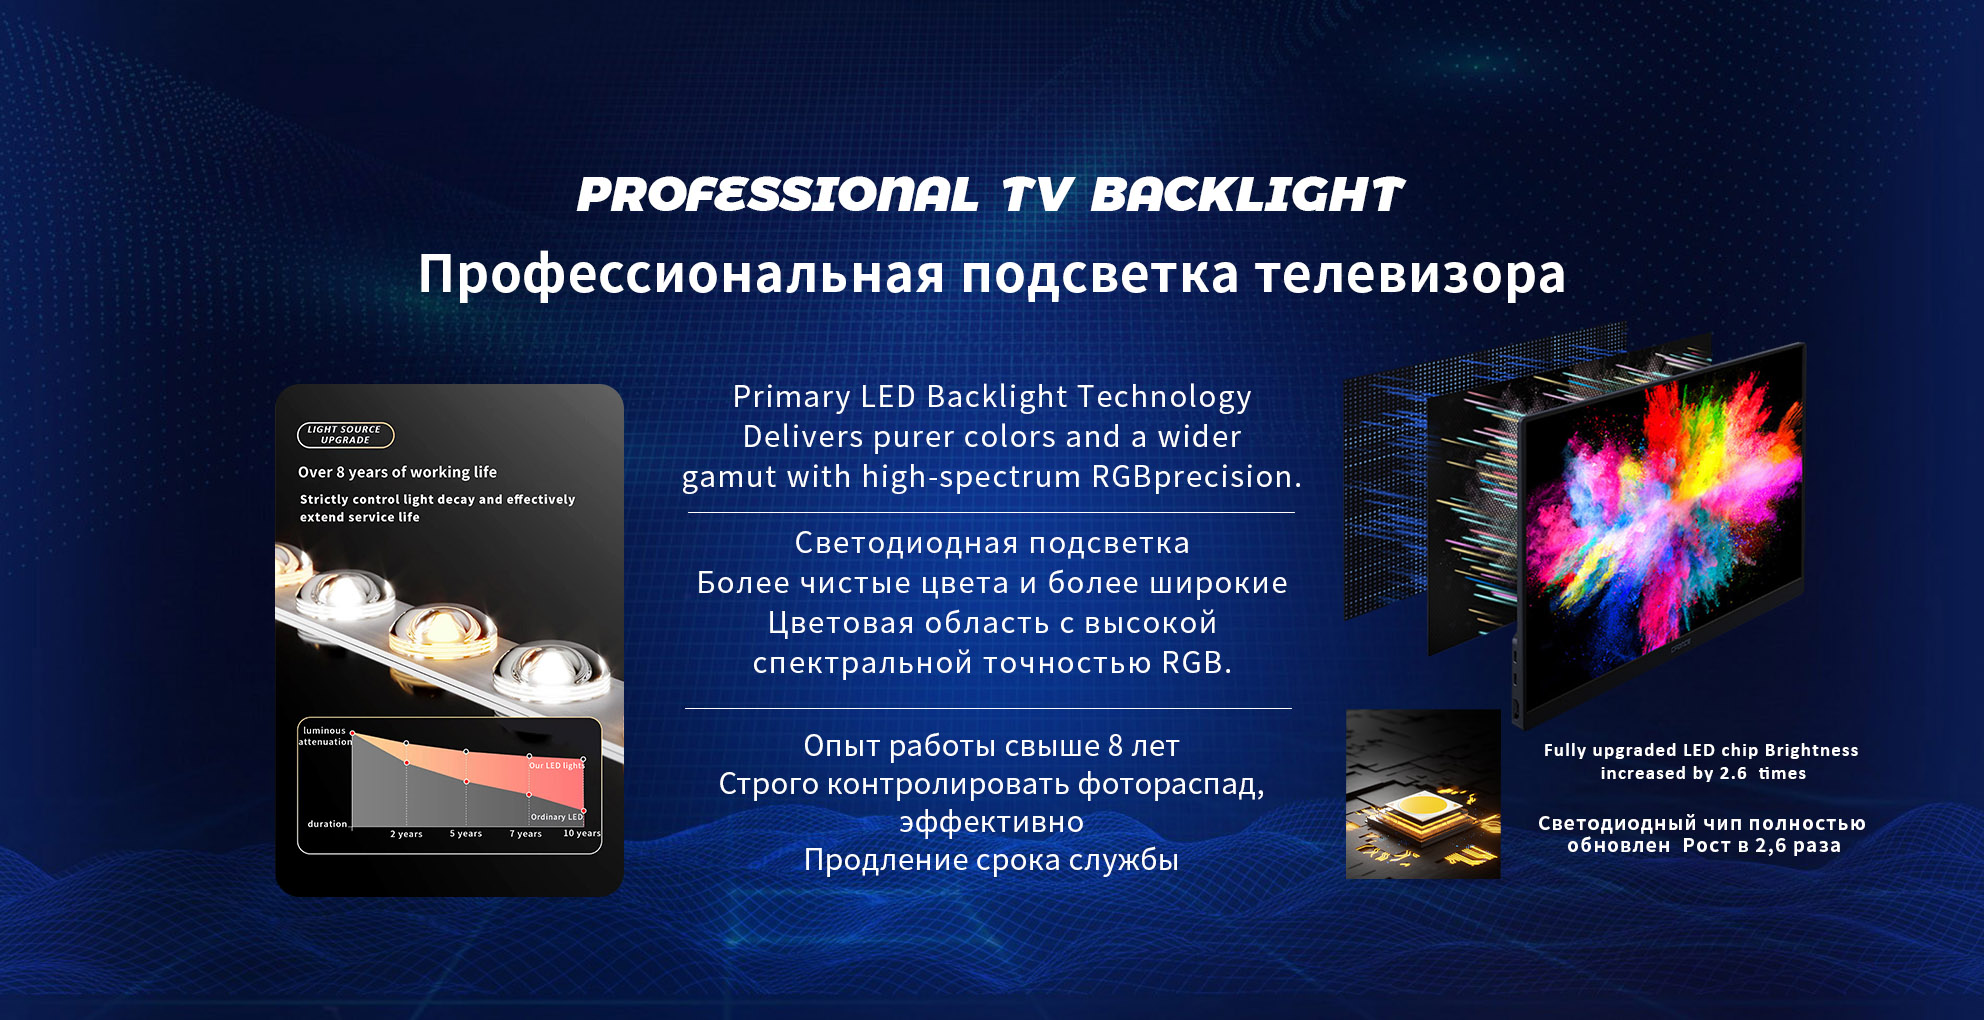
Televisions that power on but show a black or dim screen often require a focused inspection of the internal lighting system. Before replacing components, accurate tv backlight testing helps confirm whether the issue comes from the led strips, the driver board, or another circuit. A structured testing approach reduces unnecessary part replacement and improves repair efficiency.
Initial visual and functional check
Start with a simple observation before opening the unit. If sound is present but the screen appears dark, shine a flashlight across the panel at an angle. A faint moving image usually indicates that the LCD layer is working and the backlight is not.
This quick method is widely used in field diagnostics and helps determine whether further strip-level testing is required. It avoids unnecessary disassembly when the issue lies elsewhere.
Power-off inspection after disassembly
Once the television is opened, inspect the backlight assembly without applying power. Look for:
These signs often reveal failed sections immediately. In many cases, one defective diode in a series string can cause the entire strip segment to stop working.
Using a dedicated LED tester
A professional LED tester is one of the most efficient tools for how to test led tv backlight strips. It allows direct voltage supply to the strip without relying on the TV’s driver board.
The testing process typically includes:
Disconnecting the strip from the original circuit
Applying controlled voltage through the tester
Observing whether all LEDs light evenly
If certain sections remain dark or show inconsistent brightness, the strip is faulty. This method is widely used because it isolates the strip from other components, making diagnosis more accurate.
Multimeter verification for deeper analysis
When a dedicated tester is not available, a multimeter can provide additional insights. In diode mode, it can detect whether individual LEDs conduct current. However, this method is slower and requires testing each diode separately.
Electrical verification should also include checking continuity across the strip and ensuring there are no open circuits. For parallel configurations, comparing resistance values between sections can help identify abnormal segments.
Evaluating driver board influence
Not all backlight issues originate from the strip itself. Driver boards regulate current and voltage supplied to the LEDs. If the board fails, even a healthy strip may not light up.
According to technical guidance from Nichicon, component lifespan is highly dependent on temperature, and degradation accelerates in high-heat environments. Capacitors on driver boards are particularly sensitive, and their aging can lead to unstable output or insufficient power delivery.
Testing should therefore include:
Measuring output voltage from the driver board
Checking for fluctuation or abnormal drop under load
Inspecting capacitors for swelling or leakage
This step ensures that replacement decisions are based on accurate diagnosis rather than assumptions.
Thermal factors revealed during testing
LED performance is closely linked to temperature conditions. The U.S. Department of Energy has highlighted that elevated junction temperatures accelerate lumen depreciation and reduce LED lifespan.
During testing, uneven brightness or delayed lighting may indicate thermal damage accumulated over time. Sections that light up but appear dimmer often point to heat-related degradation rather than complete electrical failure.
Understanding this distinction helps buyers and repair teams decide whether full replacement or partial replacement is more appropriate.
Comparing testing methods
Different testing approaches serve different purposes. Combining them provides a more reliable conclusion.
| Method | Advantage | Limitation |
|---|
| Flashlight test | Fast initial diagnosis | Cannot identify exact fault location |
| LED tester | Accurate strip-level evaluation | Requires dedicated equipment |
| Multimeter | Detailed electrical check | Time-consuming for full strips |
| Driver board test | Identifies power issues | Needs technical experience |
Using multiple methods together reduces misjudgment and improves repair success rate.
Importance of consistent component sourcing
Testing accuracy depends not only on tools but also on the quality of replacement parts. A reliable industrial parts supplier ensures that strips match original specifications and maintain stable performance after installation.
StarSharp provides large-scale production capability with more than 5,000 models and automated manufacturing lines. This level of consistency supports repeat testing results and reduces variation between batches, which is critical for distributors handling multiple repair cases.
Role of specialized testing tools
Professional repair environments often rely on a tv led strip ki for faster diagnostics. These kits integrate voltage control and protection features, allowing safe and efficient testing across different strip configurations.
Using standardized tools improves workflow efficiency and reduces the risk of damaging components during testing. It also helps maintain consistent diagnostic procedures across different technicians and service locations.
Building a reliable testing workflow
Accurate backlight diagnosis requires a combination of observation, electrical testing, and component evaluation. Starting with simple checks and moving toward detailed analysis ensures that faults are identified correctly.
Testing tv backlight strips is not just about confirming failure. It is about understanding the root cause, preventing repeat issues, and ensuring that replacement parts perform reliably under real operating conditions.