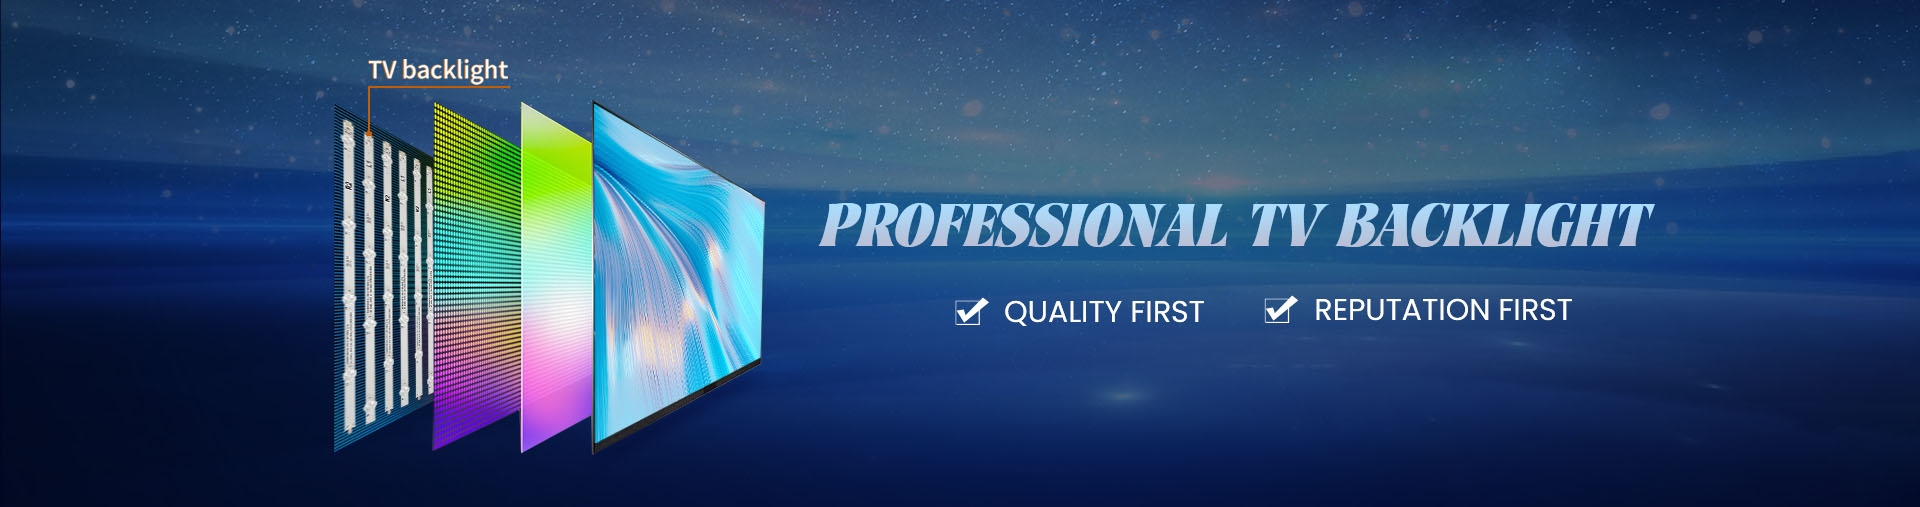
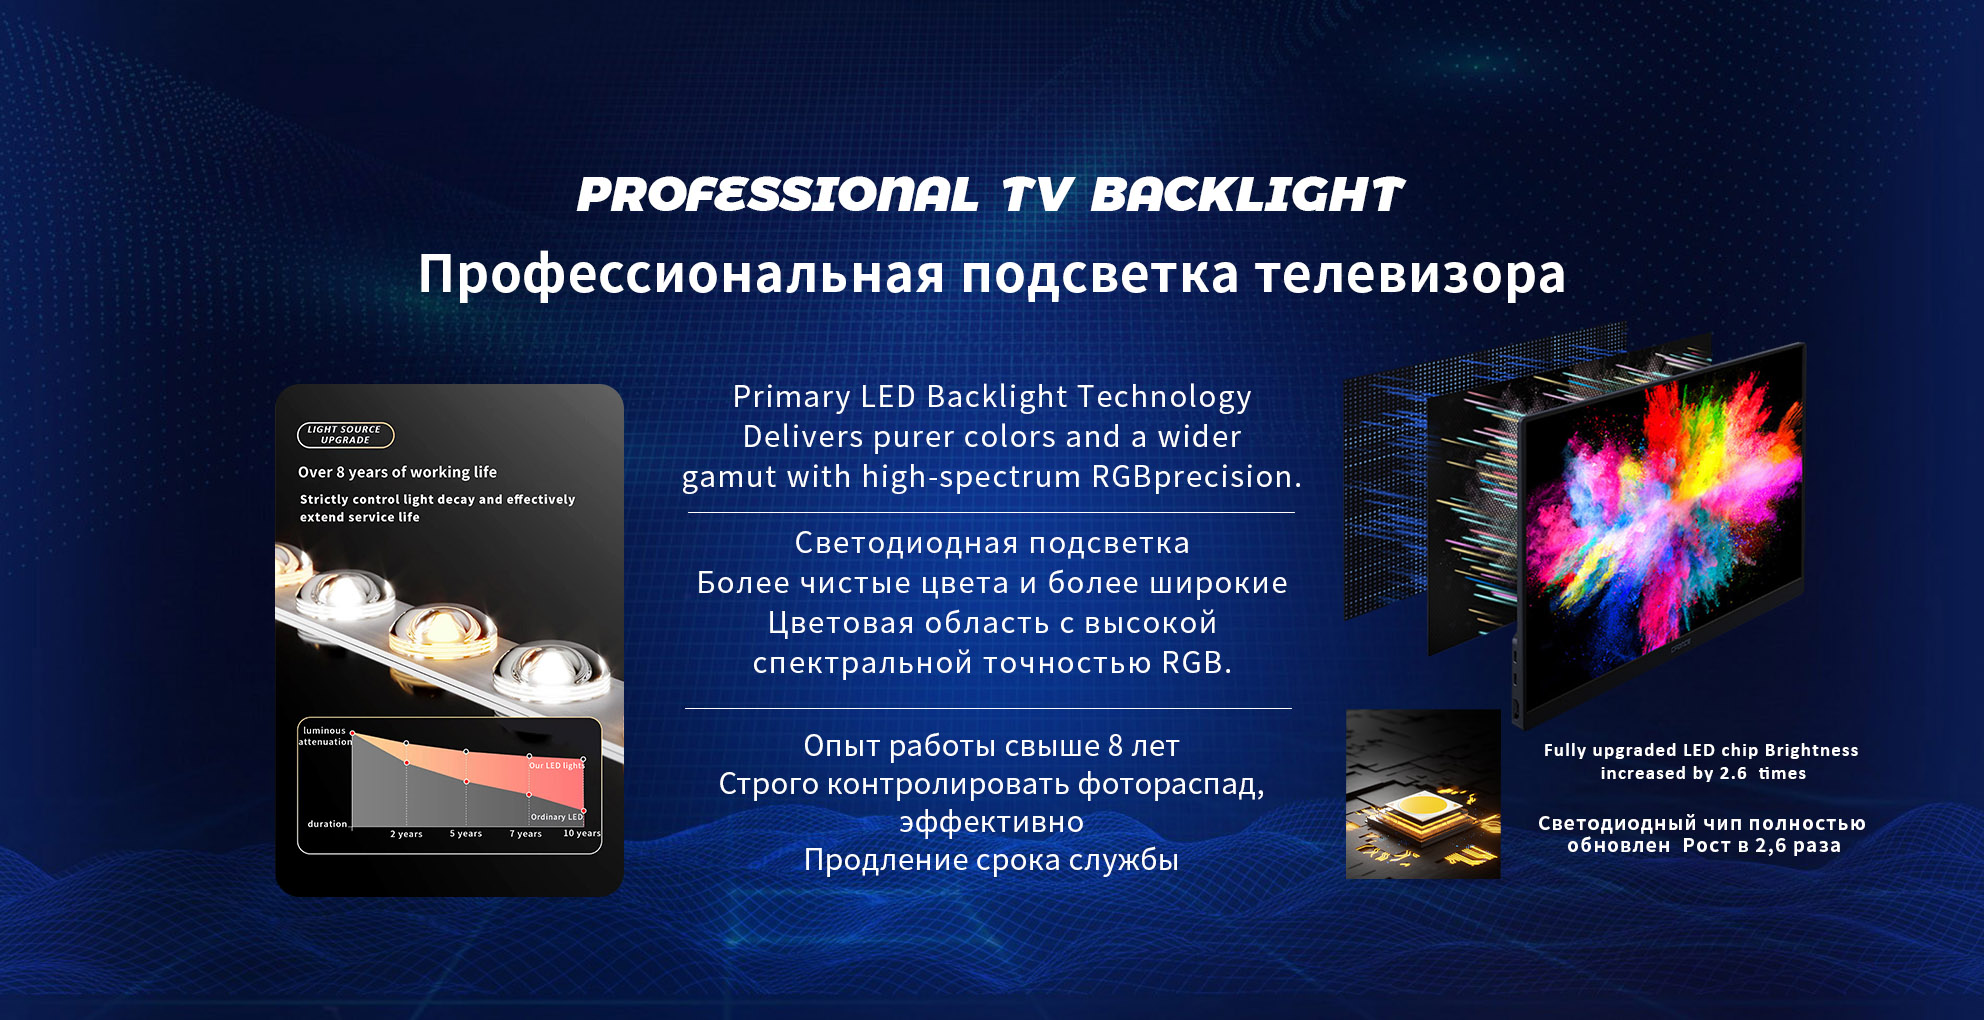
Successful tv backlight repair depends on careful diagnosis, safe screen handling, and accurate replacement work. The backlight strip is placed behind the LCD glass, diffuser sheets, reflector layers, and frame structure, so the repair process is more delicate than replacing an external part. Using the right repair tools can reduce cracked panels, wrong electrical judgment, damaged films, and repeated disassembly.
Industry LED reliability guidance explains that LED failure is not only about the LED package itself. Drivers, connectors, thermal materials, optics, and operating temperature can also affect product life. This is why backlight repair should include electrical testing, visual checking, and controlled reassembly, not only strip replacement.
1. Basic Disassembly Tools
The first group includes screwdrivers, plastic pry tools, tweezers, parts trays, and label stickers. TVs often use different screw lengths in the back cover, metal frame, power board area, and panel support structure. Mixing screws may damage the frame or press against the LCD panel after reassembly.
Plastic pry tools are better than metal tools when opening clips or removing narrow covers. They help avoid scratches and reduce the risk of short circuits. A magnetic parts tray or divided storage box is also useful because one missing screw can slow down the whole repair process.
2. LCD Panel Handling Tools
The LCD panel is the most fragile part during backlight repair. Large panels should be lifted with screen suction cups, anti-static gloves, and a clean soft work mat. For larger TV sizes, two-person handling is safer because uneven force can crack the glass.
A dust-free table is also important. Diffuser sheets and optical films can trap dust easily. Once dust enters the light path, the repaired screen may show spots or shadows. Repair teams should prepare clean film bags or a flat holding area before lifting the optical layers.
3. Electrical Testing Tools
A digital multimeter is needed to check voltage, continuity, polarity, and connector condition. An LED backlight tester is also useful because it can help identify failed strips, open circuits, and uneven LED response before the full screen is assembled again.
For safer diagnosis, technicians should test the original strip layout, power board output, and replacement strip before final assembly. LED lifetime recommendations from the U.S. Department of Energy note that L70 is commonly used to describe the point where LED output drops to 70% of the original level, but other failure mechanisms also need to be considered.
| Tool Category | Main Tools | Why They Matter |
|---|
| Disassembly | Screwdrivers, pry tools, trays | Protects frame parts and keeps screws organized |
| Screen handling | Suction cups, gloves, soft mat | Reduces panel breakage risk |
| Electrical testing | Multimeter, LED tester | Confirms voltage, polarity, and strip condition |
| Cleaning | Dust blower, microfiber cloth | Prevents visible screen spots |
| Reassembly | Tape, clips, labels | Supports stable installation and traceability |
4. Cleaning And Optical Layer Protection
Backlight repair requires careful handling of diffuser sheets, reflector paper, and prism films. These layers should be removed in order and placed in the same direction. Flipping or misplacing one layer may cause uneven brightness after repair.
A dust blower, microfiber cloth, and anti-static brush can help keep the repair area clean. Strong liquid cleaners should be avoided near optical films because they may leave marks or damage the surface. Clean handling is especially important for large-size direct-lit TVs, where a small dust particle can become visible after reassembly.
5. Installation And Fixing Tools
Replacement backlight strips may need double-sided thermal adhesive tape, positioning clips, connector locks, or screw fixing depending on the original design. The strip should sit flat on the back plate. If the strip is lifted or tilted, heat transfer becomes weaker and lens alignment may change.
The correct tools for tv backlight replacement should also include measuring tools. A ruler or caliper helps compare strip length, LED spacing, lens height, screw hole position, and connector direction. These details are important because many TVs with the same screen size can use different internal backlight designs.
6. Why Spare Part Matching Matters
Tools can improve repair safety, but the replacement strip still needs to match the original panel. Before ordering, buyers should check the strip code, panel code, LED count, voltage, connector style, and actual photo. Wrong voltage may cause dim light, startup failure, overheating, or repeated LED failure.
As a repair supplier, StarSharp supports backlight strip selection with broad model coverage. The company states that its products include direct light strips, side entry light strips, and commercial display backlight products, with over 5,000 specifications and models. It also lists 10 automated lines with daily production capacity up to 100,000 strips, which supports repeat orders and model planning.
Summary
Backlight repair needs more than a screwdriver and a replacement strip. A complete tool setup should cover disassembly, panel lifting, electrical testing, optical layer protection, cleaning, measurement, and stable reassembly.
For repair centers and spare parts businesses, the best result comes from combining proper tools with accurate backlight matching. This reduces screen damage risk, improves repair efficiency, and helps every replacement strip perform closer to the original display structure.